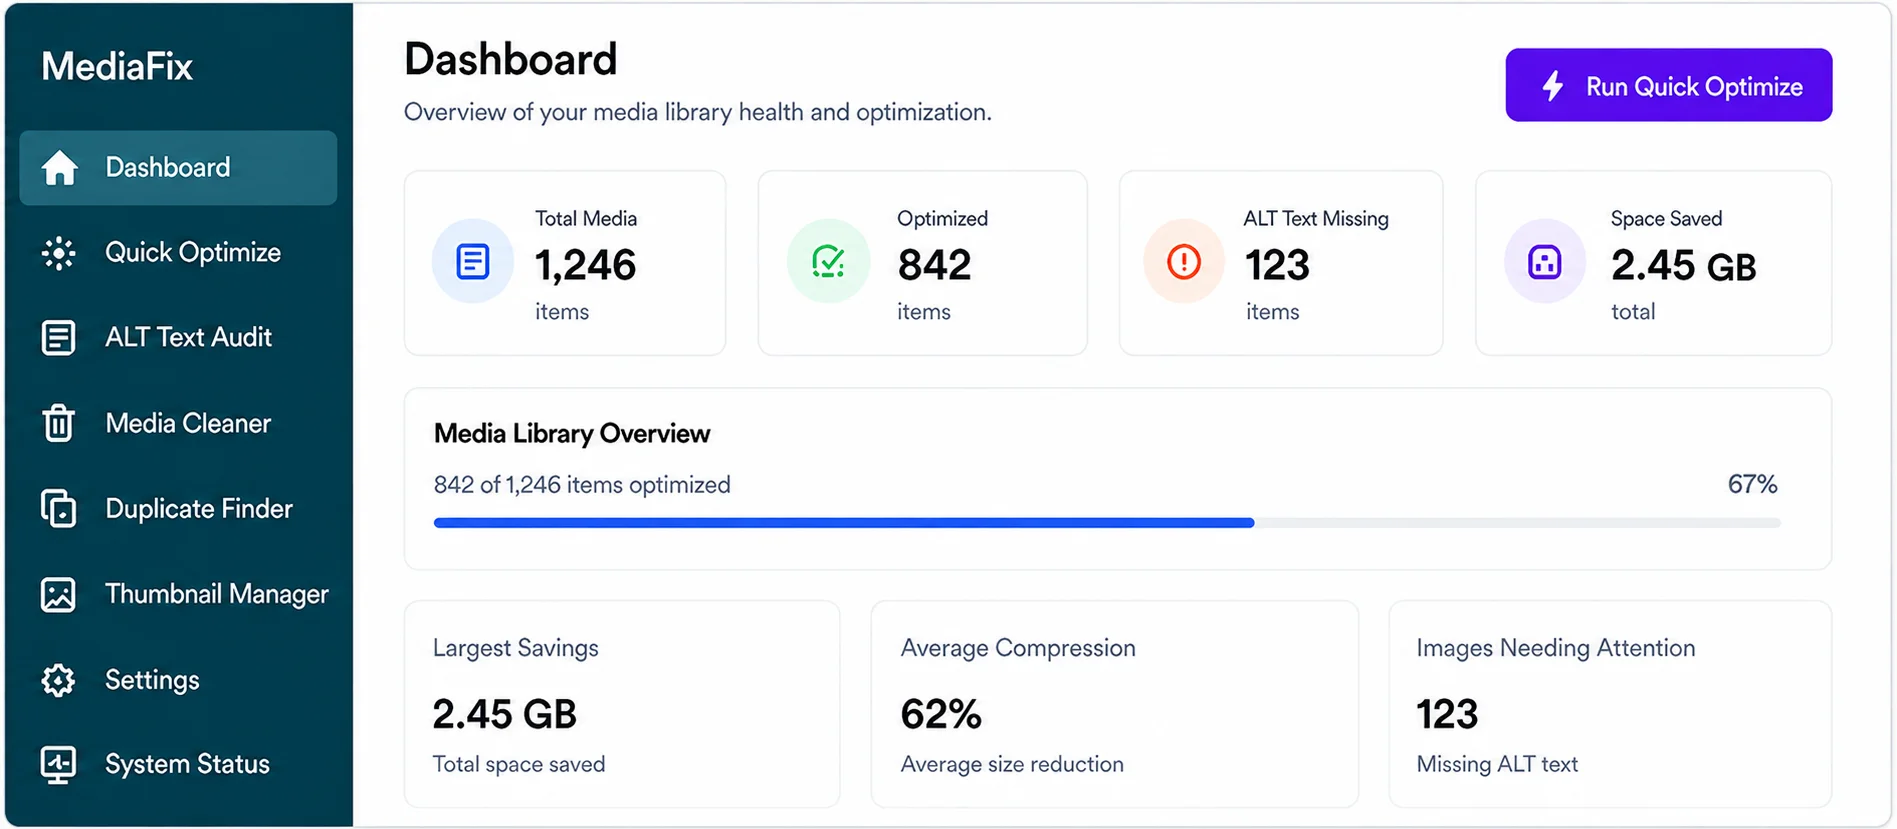





ToolFlexy MediaFix Documentation
Optimize images, improve ALT text, and clean your WordPress Media Library — safely and locally.
Get Started
Follow these four steps to set up ToolFlexy MediaFix and optimize your Media Library safely.
Install the Plugin
Upload the ToolFlexy MediaFix ZIP from Plugins > Add New Plugin, install it, and activate it.
Check System Status
Open MediaFix > System Status and confirm that uploads are writable and your server supports the formats you need.
Review the Settings
Choose your image quality, WebP or AVIF output, backup preference, and ALT text rules before processing media.
Test One Image
Optimize one representative image, review it on desktop and mobile, and test restoration before starting a bulk run.
Always test bulk actions on staging and keep a full backup.
A theme, builder, CDN, or custom plugin can handle images differently. Testing first helps prevent unexpected changes and makes restoration easier.
Core Features
Everything you need to optimize, organize, and improve WordPress media from one clear dashboard.
Image Optimization
Compress JPEG and PNG images, create WebP or AVIF copies, process existing media in a controlled queue, and keep reversible original backups.

Smart ALT Text
Find missing ALT text and generate previewed suggestions from a related title, SEO focus keyword, or cleaned filename without overwriting existing values by default.
Safe Media Cleaner
Review possible unused images and exact duplicate files before moving selected attachments to recoverable WordPress Trash.