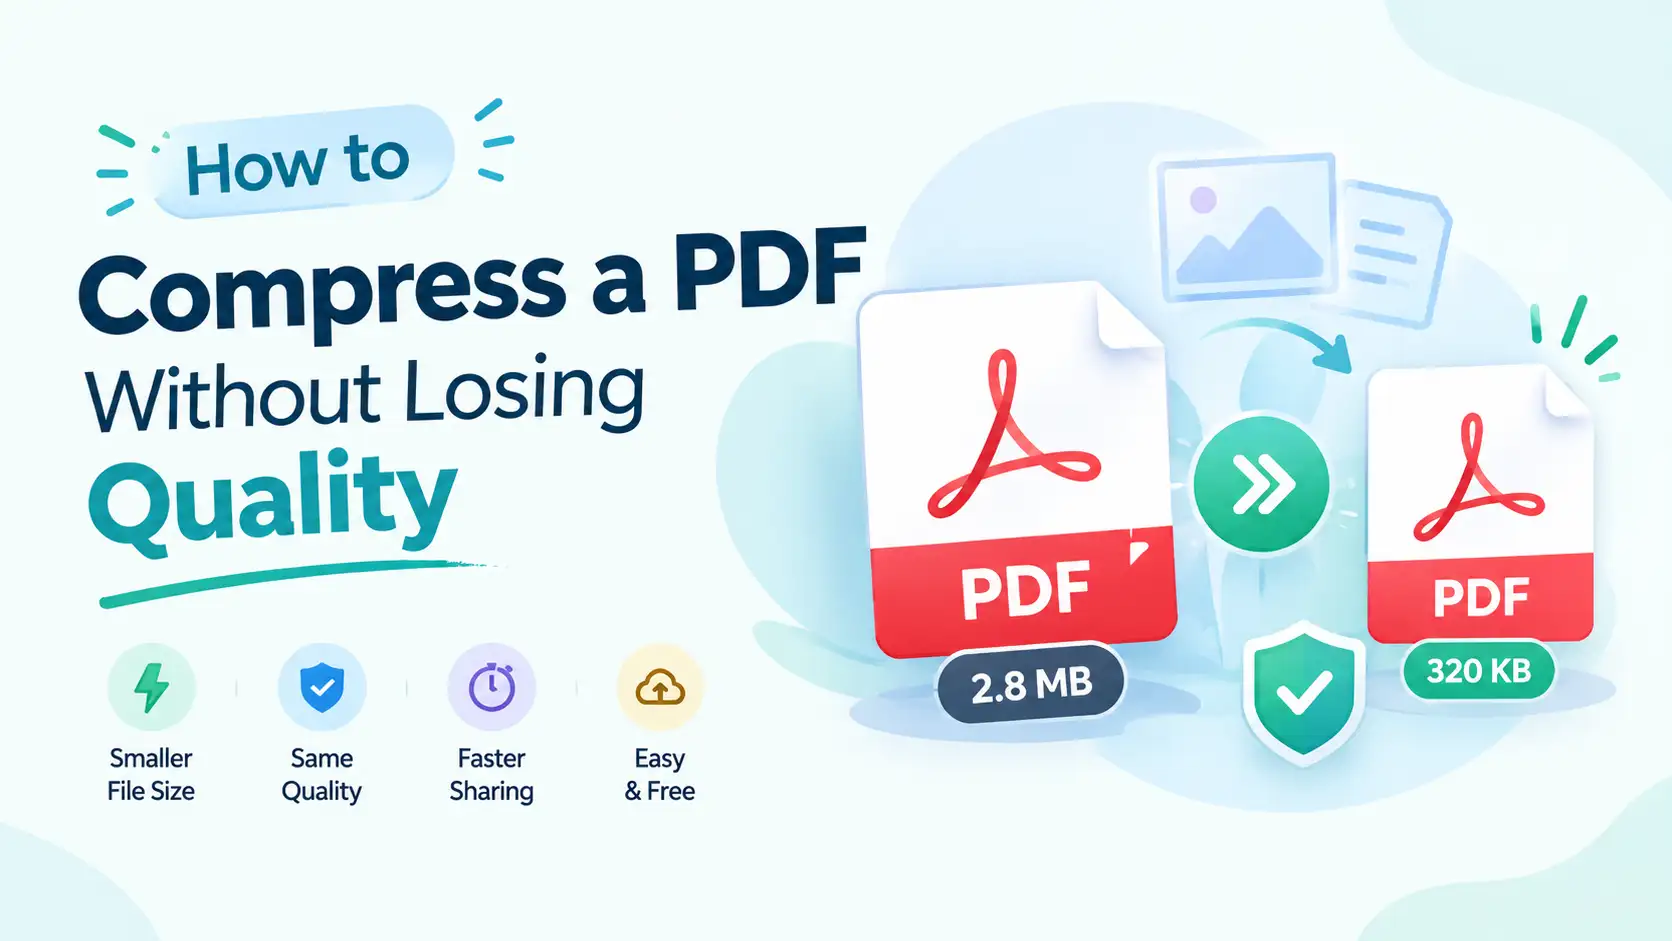
To compress PDF without losing quality, use a tool that lets you choose how strong the compression is, instead of one fixed setting. ToolFlexy’s free PDF Compressor gives you four real levels — Low, Medium, High, and a custom 0–100% slider — so you can shrink a file just enough for your situation without blurring text or flattening photos. You don’t need an account, and there’s no file size limit.
Most free compressors online don’t give you that choice. They apply one aggressive setting to every file, or they lock the gentler, higher-quality options behind a paid plan. That’s usually why a “compressed” PDF comes back looking noticeably worse than the original.
Here’s what’s actually happening inside a PDF when you compress it, which setting to pick for your situation, and the exact steps to compress PDF without losing quality in a few minutes.
Why PDFs Get So Big in the First Place
A PDF usually gets large because of what’s embedded inside it, not because of the text itself. Plain text and simple line art take up very little space — the weight almost always comes from images, fonts, and layers stacked on top of each other.
Scanned documents are the most common offender. A scanner saves each page as a full-resolution photo rather than searchable text, so a 20-page scanned contract can easily be ten times larger than the same document typed directly into a word processor.
A few other things quietly add bulk:
- Embedded fonts. A PDF often packages the entire font file so it displays correctly on any device, even if you only used a handful of characters from it.
- Unflattened layers and metadata. Edit history, hidden layers, and tracked comments can stay baked into the file even after you think you’ve “finished” it.
- Uncompressed photos. An image pasted in at its original camera resolution is far bigger than what’s needed to look sharp on a screen or in print.
Knowing which of these is driving the file size tells you how much compression you actually need — a scanned, image-heavy PDF has a lot of room to shrink, while a short text report usually doesn’t.
Lossless vs Lossy Compression — What Actually Happens to Your File
Lossless compression shrinks a file without throwing anything away, so the result is identical to the original when it’s opened again. It works by finding repeated patterns in the data and storing them more efficiently, which is why it’s the safe default for text and line art — but it only gets you so far, typically a 2:1 to 4:1 reduction at best.
Lossy compression goes further by permanently discarding detail the eye is unlikely to notice, mainly in photos and scanned images. It can shrink a file 10:1 or more, but push it too hard and you’ll see blurring, blocky patches, or faint halo-like artifacts around text and logos.
In practice, a good PDF compressor doesn’t pick just one approach. It applies lossless compression to the text and vector elements, which don’t need to lose anything, and reserves lossy compression for the photos and scanned pages where the size savings are actually worth it. That’s the difference between a Low setting and a High one in most tools, ToolFlexy’s included — Low leans lossless and barely touches image quality, while High leans harder into lossy compression for maximum size reduction.
How to Compress a PDF Online Free (Step-by-Step)
To compress a PDF online for free, upload it to a browser-based compressor, pick a compression level, and download the result — no installation and no account required.
1. Open the PDF Compressor and Upload Your File
Go to ToolFlexy’s PDF Compressor and drag your file into the upload area, or click to browse your device. There’s no file size cap, so a large scanned document or a slide-heavy report works the same as a short one.
2. Choose a Compression Level
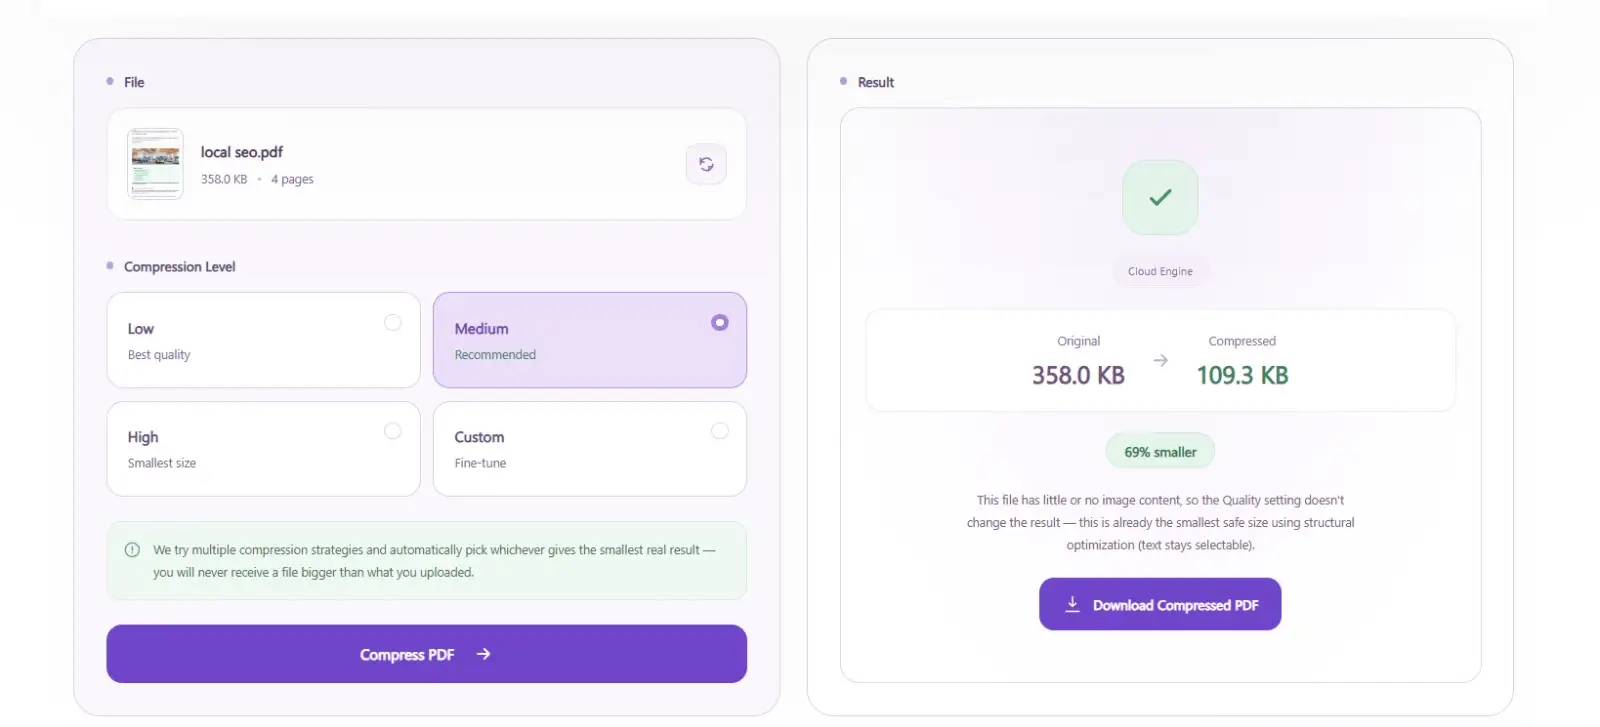
Pick Low, Medium, High, or Custom depending on how small you need the file and how much visual detail matters for your use case. All four levels are free here — unlike several competing tools that save their stronger presets for a paid tier.
3. Fine-Tune with the Custom Slider (Optional)
If you chose Custom, drag the quality slider anywhere from 0 to 100% to balance file size against sharpness before processing. This gives you a level of control most free compressors simply don’t offer.
4. Compress, Compare, and Download
Click Compress PDF and you’ll see the original size, the new size, and the percentage saved side by side. If it’s not small enough yet, or you want to keep more detail, re-run it at a different level — then download the finished file in one click, with no watermark and no waiting in a queue.
Which Compression Level Lets You Compress PDF Without Losing Quality?
The right compression level depends on where the file is going next, not just how small you want it. Picking the correct level — not just mashing “compress” — is really the whole trick to compress PDF without losing quality.
- Low — best for contracts, resumes, or anything with text and small logos that must stay crisp. Expect a modest size reduction with almost no visible change.
- Medium — a practical default for everyday sharing — emailing a report, uploading to a portal, or sending a proposal — where a noticeably smaller file matters more than pixel-perfect images.
- High — for image-heavy or scanned PDFs you mainly need to shrink and share, where some softening of photos is an acceptable trade for a much smaller file.
- Custom — for anyone who wants to land on a specific target size, like getting just under a 5 MB upload limit, by nudging the slider up or down and comparing results.
A useful habit: run Medium first, check whether the result is small enough and still looks right, and only move to High if you genuinely need the extra reduction.
Target File Sizes for Common Situations
Different destinations have different, often unwritten, size expectations. A few real limits worth knowing:
| Where it’s going | Typical limit / target |
|---|---|
| Gmail attachment | 25 MB per message |
| Outlook.com / personal accounts | 20 MB per message |
| Microsoft 365 / Exchange (default) | 25 MB per message |
| Yahoo Mail | 25 MB per message |
| Job application / HR portals | Often 1–5 MB — check the form before submitting |
| Printing a document professionally | Higher resolution preferred — use Low or Medium, not High |
| Long-term archiving | Lossless or Low compression, to preserve detail for the future |
Gmail allows up to 25 MB per outgoing message, Outlook.com personal accounts cap outgoing attachments at 20 MB, and Microsoft 365 defaults to 25 MB — so compressing a large PDF before attaching it is usually faster than fighting with a “message too large” error.
A 2026 survey of 1,001 full-time U.S. employees, commissioned by Smallpdf, found that file-size problems are more common than most people assume: 45% had an email attachment rejected for being too large, 38% were unable to share a document at all because of its size, and 78% said they’d personally run into a work problem caused by an oversized file. The same survey found that compression typically cuts a PDF’s size by an average of 54% — which lines up with what you’d expect from a well-chosen Medium or High setting on a photo- or scan-heavy document.
Compressing a Scanned PDF vs a Text-Based PDF
A scanned PDF compresses very differently from one created directly from a word processor, because a scan is really just a sequence of embedded photos.
For a scanned document, most of the size reduction comes from compressing those page images — so Medium or High usually makes a real difference, and it’s worth checking that small handwriting, stamps, or signatures are still legible afterward before you send it anywhere official.
For a text-based PDF — a report, invoice, or contract typed directly into a document editor — there usually isn’t much to compress besides embedded fonts and any inserted images. Low compression is typically enough, and pushing to High won’t shrink it much further since there isn’t much lossy image data to remove in the first place.
If your scanned PDF also has blank or duplicate pages mixed in — common with double-sided scanning — it’s worth removing blank pages from the scan before compressing, since there’s no reason to spend processing time shrinking pages you’re going to delete anyway.
Common Problems When Compressing a PDF
Even with the right level selected, a few things can still go wrong when you compress PDF without losing quality on the first try — here’s how to fix the most common ones.
- Text looks blurry or “fuzzy” after compression. This usually means a lossy setting was applied too aggressively, or the original was a scanned image rather than real text. Try a lower compression level, or re-scan at a higher resolution if the source allows it.
- The file barely got smaller. If a PDF is already mostly text, there isn’t much size to recover — the fix here is checking whether the bulk is coming from embedded images or fonts instead.
- Colors or logos shifted slightly. Aggressive lossy compression can soften fine color detail in small graphics. Compressing at Low or Medium instead usually resolves this.
- The compressed file still doesn’t meet an upload limit. If High compression still isn’t small enough, consider splitting the PDF into smaller parts, or pulling out individual images that don’t need to stay inside the document.
- You’re not sure if you kept the original. Always keep the uncompressed source file until you’ve confirmed the compressed version looks right — compression doesn’t modify or delete your original upload.
How to Compress PDF Without Losing Quality: Final Recap
The fastest way to compress PDF without losing quality is to stop treating compression as one-size-fits-all. Pick a level that matches where the file is actually going — Low for anything text-heavy and official, Medium for everyday sharing, High for scanned or image-heavy files you just need smaller, and Custom when you’re chasing a specific size.
ToolFlexy’s free PDF Compressor gives you all four options in one place, with no sign-up, no watermark, and no file size limit — upload your PDF, choose a level, and see exactly how much smaller it gets before you download it.