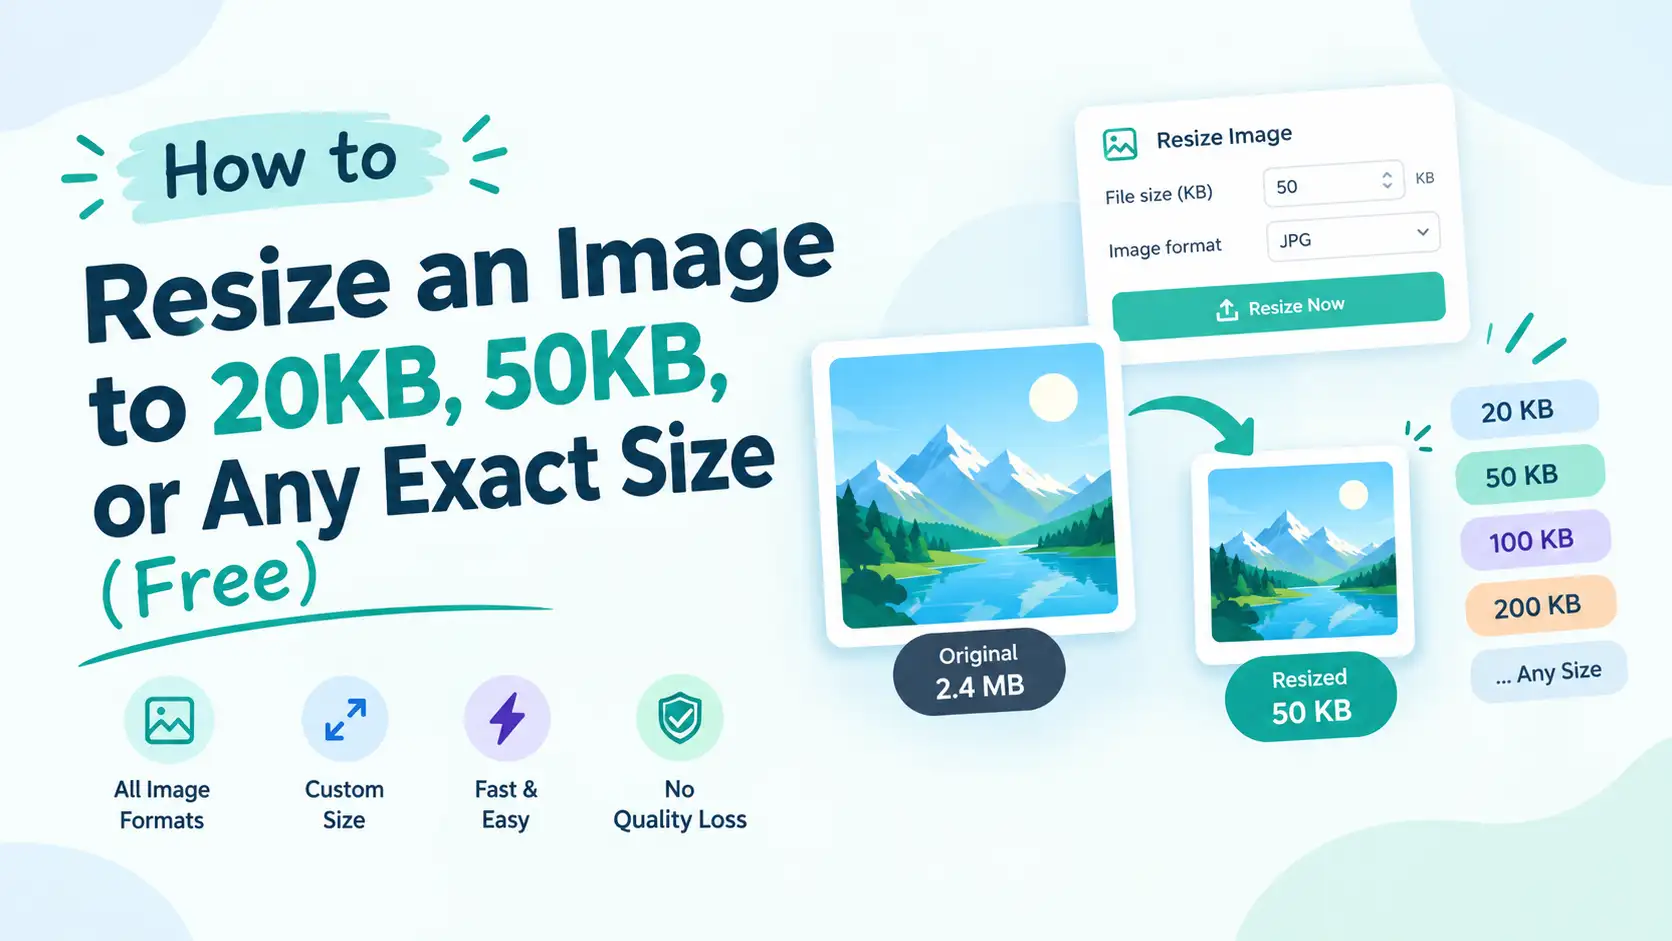
If a form, exam portal, or job application just rejected your photo for being “too large,” you’re not alone — and you don’t need Photoshop to fix it. This guide shows you how to resize image to 20KB, 50KB, or any exact size in under a minute, free, directly in your browser — plus the common size limits different forms actually ask for.
Why Forms Reject Your Photo (KB vs KiB, Explained)
Most portals set a maximum file size — “photo must be under 50KB” is a typical example — because large images slow down their servers and database storage. Your phone camera, by comparison, often produces photos of 2MB to 8MB: 40 to 160 times over that limit.
One quiet source of confusion: a “KB” on a form usually means 1,000 bytes, but some operating systems display file size in KiB (1,024 bytes) and still label it “KB.” The difference is small per file, but it’s why a photo that reads “49KB” on your phone can get flagged as “50.2KB” by a strict portal. When a limit is tight, aim a few KB under it rather than exactly at it.
The Fastest Way to Hit an Exact File Size
The most reliable method isn’t a mystery “auto-compress to 20KB” button — most tools that promise this quietly shrink your dimensions too, which is why faces end up soft or pixelated. The better approach is to control quality and dimensions yourself while watching a live size estimate, so you can see the trade-off before you download.
Step-by-Step With ToolFlexy’s Image Resizer
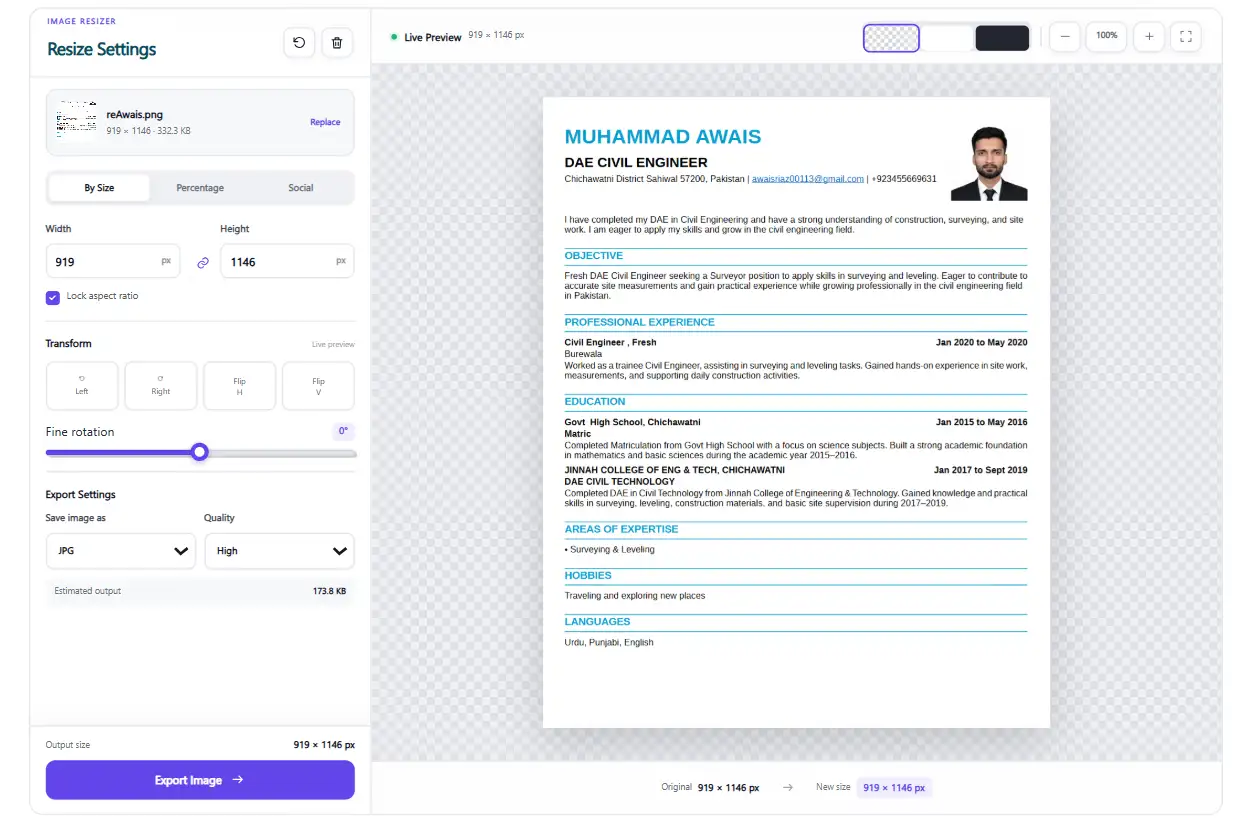
- Upload your photo. Open the free Image Resizer and drop in a JPG, PNG, WEBP, or GIF up to 20MB. It runs in your browser — the file is never uploaded anywhere.
- Set the dimensions the form asks for. Most photo uploads specify pixel dimensions (for example, 200×230px) alongside the size limit. Type them in directly, or use the percentage slider for a quick scale-down.
- Choose “Small file” under Export Settings. This drops JPG quality just enough to shrink the file without visibly degrading a passport-style photo.
- Watch the estimated output size. The tool calculates this live as you adjust quality and dimensions — no need to download, check, and re-upload repeatedly.
- Export as JPG and download. If you’re still a few KB over, nudge the dimensions down slightly and the estimate will update again.
Reading the Live Size Estimate (So You Don’t Have to Guess)
Because the estimate updates as you move the quality and dimension controls, you can treat it like a target you’re closing in on rather than a one-shot gamble. Drop quality one step at a time — “Small file” is usually enough on its own for anything from a signature to a standard ID photo, and you rarely need to also shrink the dimensions unless the form’s limit is unusually tight.
How to Resize Image to 20KB: Quick Recap
To resize image to 20kb specifically, start with “Small file” quality in the Image Resizer, then check the live size estimate — if it’s still over 20KB, scale the pixel dimensions down by 10–20% and check again. Most passport-style photos reach 20KB comfortably at around 300×400px.
Common Size Requirements by Form Type
Exact limits vary by portal and change over time, so always check the specific form’s instructions first. That said, most online applications cluster around a few familiar ranges:
| Document type | Typical size range | Typical format |
|---|---|---|
| Signature upload | 10KB – 20KB | JPG or PNG |
| Passport/ID-style photo | 20KB – 50KB | JPG |
| Exam or job portal photo | 20KB – 100KB | JPG |
| Visa application photo | Under 1MB, specific pixel dimensions (e.g. 600×600) | JPG |
| Resume or document scan | 500KB – 2MB | JPG or PDF |
These are common patterns, not official specifications — a government exam portal or embassy site will state the exact number it requires, so treat this table as a starting point for what to expect, not a substitute for the form’s own instructions.
Dimensions vs. Quality: Which to Adjust First
Quality first, dimensions second — in that order. Dropping JPG quality from “Best” to “Small file” can cut a file to a third of its size with no visible difference in a small ID-style photo, because compression artifacts are hardest to spot at small display sizes. Shrinking the pixel dimensions has a bigger visual impact and should be your second move, only if quality adjustment alone doesn’t get you under the limit.
JPG vs. PNG vs. WEBP: Which Format Hits Smaller Sizes
JPG compresses photographs far more efficiently than PNG, because PNG is a lossless format built for graphics with flat colors — like a scanned signature or a logo — not gradients and skin tones. For a photo, export as JPG. For a signature on a plain white background, PNG often stays small even at full quality, since there’s very little detail for it to store. WEBP can beat both for a given quality level, but check the portal accepts it first — many older government forms only take JPG or PNG.
What If You Can’t Hit the Target Without Blur?
If “Small file” quality still leaves you over the limit, the image’s starting dimensions are probably larger than the form needs. A 4000×3000px phone photo carries far more pixel data than any 200×230px ID photo will ever use, so scaling the dimensions down to roughly what the form specifies — before you worry about quality — usually solves it in one step, without the softness that comes from over-compressing a huge image at full size.
Resizing a Screenshot or Scanned Document
Screenshots and scanned documents behave differently from photos when you try to resize image to 20kb or similar targets, because they’re usually flat PNGs full of solid color and sharp text edges rather than gradients. A PNG screenshot often starts smaller than a phone photo, but it can still land well over a form’s limit if it includes a large browser window or a high-DPI scan.
For a screenshot, try exporting as JPG instead of PNG first — the quality loss is rarely noticeable on a document scan, and JPG’s compression handles large flat areas far more efficiently. If the portal specifically requires PNG (common for signatures and official seals), reduce the canvas dimensions before you touch quality, since PNG has no real “quality” slider the way JPG does — its file size comes almost entirely from pixel count and color complexity.
Resizing From a Phone Before You Upload
If you’re filling out a form on your phone, you can still resize image to 20kb or any other target without installing an app. ToolFlexy’s Image Resizer works in any mobile browser — Chrome, Safari, or Samsung Internet — exactly the way it does on desktop, because the resizing happens with your device’s own processing power, not a remote server.
Open the tool, tap to choose a photo from your gallery or take one fresh, then use the same percentage slider or exact-dimension fields. On a smaller screen, the percentage slider is usually faster than typing exact pixel values, and the live size estimate still updates the same way so you can see your target before downloading.
Common Mistakes That Waste Your Time
A few habits make this process take far longer than it should. Resizing dimensions without checking the estimate first often means uploading, getting rejected, and starting over — the live preview exists specifically so you can skip that cycle. Compressing a JPG that’s already been compressed once (for example, a photo someone texted you, which messaging apps already shrink) can introduce visible artifacts fast, since each round of JPG compression discards more detail permanently.
Another common mistake: assuming “smaller file” always means “smaller dimensions.” A 6000×4000px photo at very low JPG quality can sometimes be a similar file size to a 1200×800px photo at high quality — but the smaller, higher-quality version will usually look noticeably better for an ID-style photo where facial detail matters. When a form gives you flexibility in dimensions, lean toward the smaller size rather than the lowest quality setting.
Frequently Asked Questions
Is my photo uploaded to a server when I resize it?
No. ToolFlexy’s Image Resizer processes your image entirely in your browser — it’s never sent to a server, so there’s nothing to delete afterward.
What’s the difference between KB and KiB?
A KB is 1,000 bytes; a KiB is 1,024 bytes — NIST’s glossary defines the distinction officially. Most forms mean the 1,000-byte version when they say “KB,” but some operating systems display file size in KiB under the same label — so if you’re resizing right up to a strict limit, aim a few KB under it.
Why is my photo still too large after resizing?
Usually because only quality was adjusted and the original dimensions were left untouched. Scale the pixel dimensions down closer to what the form actually requests, then re-check the estimated size.
Should I use JPG or PNG for a signature upload?
PNG, if the signature is a simple black line on a white background — it compresses that kind of flat, low-detail image smaller than JPG does. For a photographed or scanned signature with shadows or texture, JPG usually wins.
Can I resize more than one photo at a time?
Not in a single batch — each image goes through the resizer individually, which also means you can fine-tune quality and dimensions separately for each one if different photos need different results.
Resize Your Photo Now
You don’t need software, an account, or a server upload to get a photo under a form’s size limit — just the right dimensions and a quality setting you can watch update live. Try the free Image Resizer and get your exact KB target in under a minute.
Already have the right file size but need a different format or platform dimensions? See our guides on resizing images for social media, compressing an image without changing its dimensions, or our full image format converter guide.